

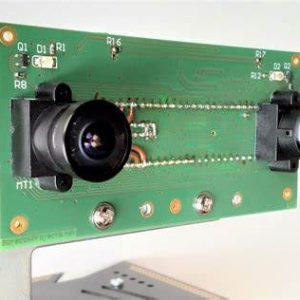
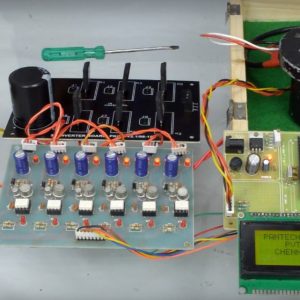
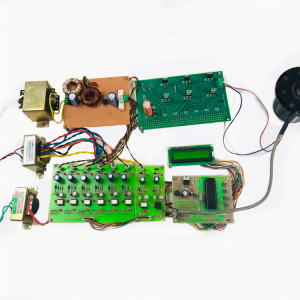
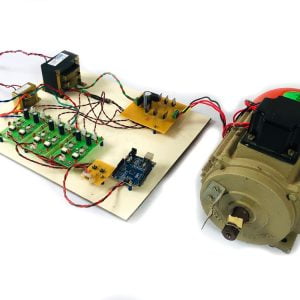
Description
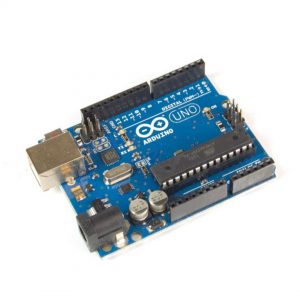
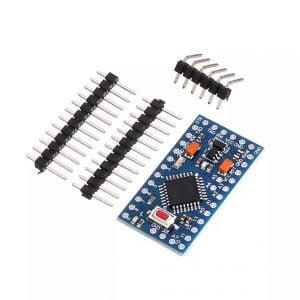
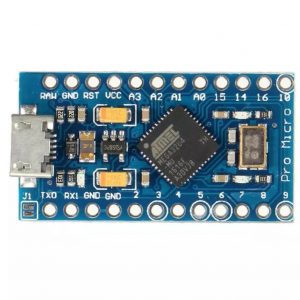
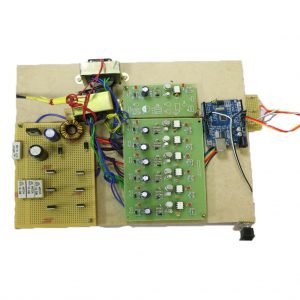
The?Arduino Pro Mini is a micro controller?board based on the ATmega328.
It has 14 digital input/output pins (of which 6 can be used as PWM outputs), 6 analog inputs, an on-board resonator, a reset button, and holes for mounting pin headers.
The Arduino Pro Mini is expected for cutting edge clients who require adaptability, minimal effort, and little size. It accompanies the base of parts (no ready USB or pin headers) to hold the expense down. It’s a decent decision for a load up you need to leave inserted in an undertaking. If you don’t mind note that there are two variants of the board: one that works at 5V (like most Arduino sheets), and one that works at 3.3V. Make certain to give the right force and use segments whose working voltage coordinates that of the board.
The Arduino Pro Mini is modified utilizing the Arduino Software (IDE), our Integrated Development Environment normal to every one of our sheets and running both on the web and disconnected. For more data on the most proficient method to begin with the Arduino Software visit the Getting Started page.
REQUIREMENT:
Utilize your Arduino Pro Mini on the Arduino Desktop IDE
On the off chance that you need to program your Arduino Pro Mini while disconnected you need to introduce the Arduino Desktop IDE
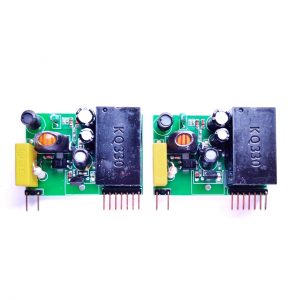
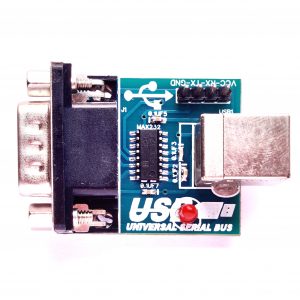
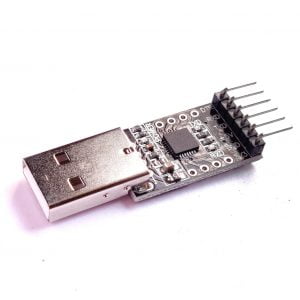
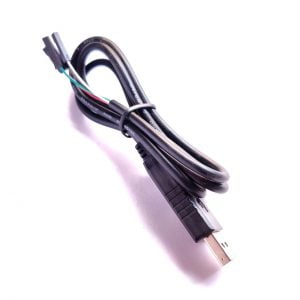
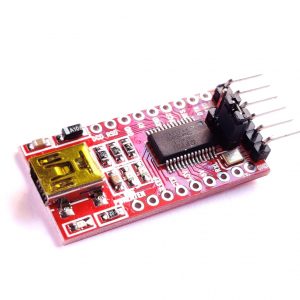
The board comes without worked in USB hardware, so an off-board USB-to-TTL chronic converter should be utilized to transfer outlines. For the 3.3V Arduino Pro sheets, this can be a FTDI TTL-232R-3V3 USB – TTL Level Serial Converter Cable or the SparkFunFTDI Basic Breakout Board (3.3V). For the 5V Arduino Pro sheets, utilize a TTL-232R USB – TTL Level Serial Converter or the SparkFunFTDI Basic Breakout Board (5V). (You can most likely likewise pull off utilizing a 5V USB-to-chronic convertor with a 3.3V board and the other way around, yet it’s not suggested.)
In the event that utilizing the FTDI link on Windows, you’ll need to make one arrangement change to empower the auto-reset. With the board associated, open the Device Manager (in Control Panels > System > Hardware), and discover the USB Serial Port under Ports. Right-click and select properties, at that point go to Port Settings > Advanced and check Set RTS on Close under Miscellaneous Options.
Open your first sketch
Open the LED squint model sketch: File > Examples >01.Basics > Blink.
Select your board type and port
For the 3.3V renditions of the Arduino Pro Mini, select Arduino Pro or Pro Mini (3.3V, 8 MHz) w/ATmega328P or Arduino Pro or Pro Mini (3.3V, 8 MHz) w/ATmega168 from the Tools > Board menu (contingent upon the microcontroller on your board). For the 5V renditions of the Arduino Pro Mini, select Arduino Duemilanove or Nano w/ATmega328P or Arduino Diecimila, Duemilanove, or Nano w/ATmega168.
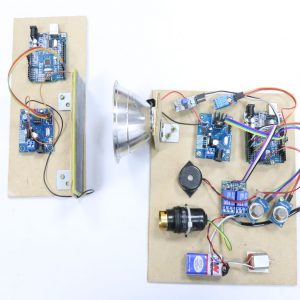
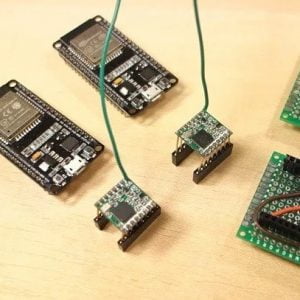
The Arduino Pro Mini associated with (and controlled by) a FTDI TTL-232R-3V3 USB – TTL Level Serial Converter Cable. The green and dark wires line up with the marks “GRN” and “BLK” composed close to the openings.
The Arduino Pro Mini associated with (and controlled by) a SparkFun FTDI Basic Breakout Board and USB Mini-B link. Note that on prior Pro Mini sheets the direction of the 6-pin header might be turned around; watch that the words GRN and BLK adjust on the Pro Mini and FTDI Basic Breakout.
Transfer and Run your first Sketch
To transfer the sketch to the Arduino Pro Mini, you need to press the transfer button in the Arduino climate.
Snap the Upload button in the upper left to load and run the sketch on your board:
Stand by a couple of moments – you should see the RX and TX LEDs on the board blazing. In the event that the transfer is effective, the message “Done transferring.” will show up in the status bar.


Customer Reviews
There are no reviews yet.