

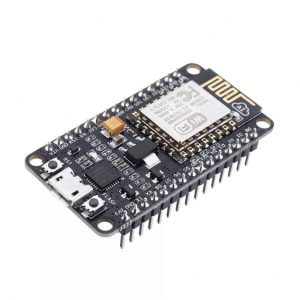
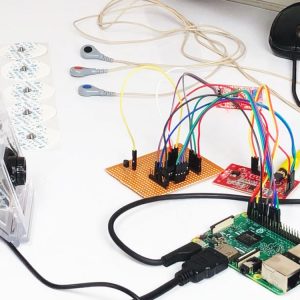
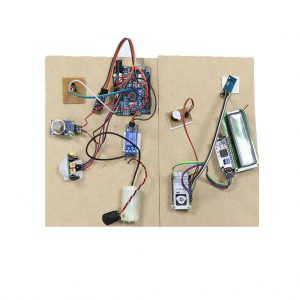
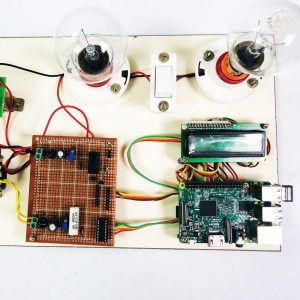
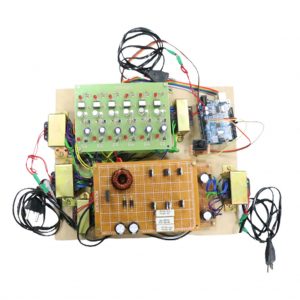
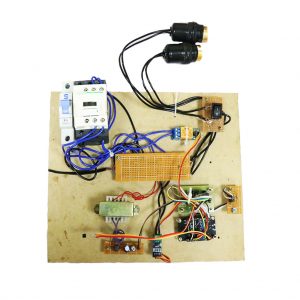
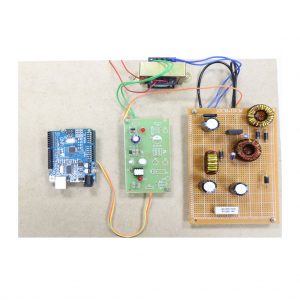
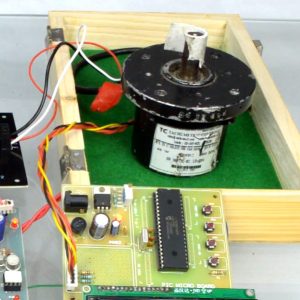
Description
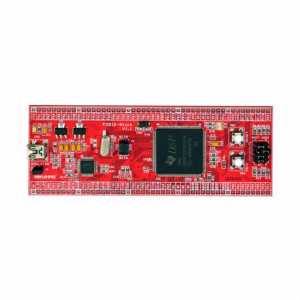
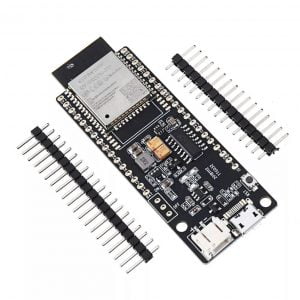
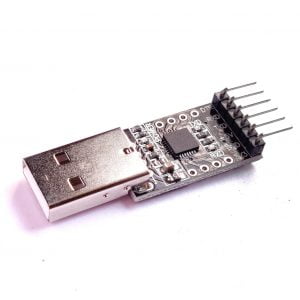
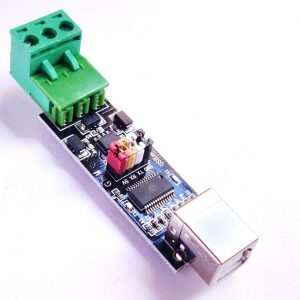
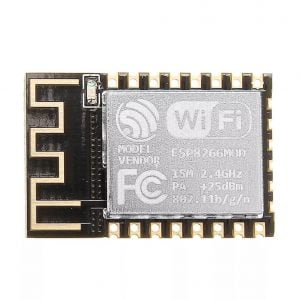
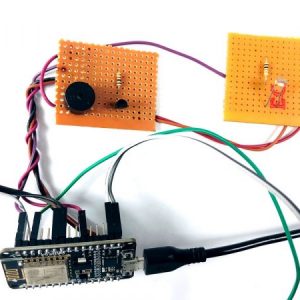
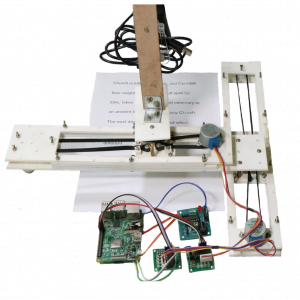
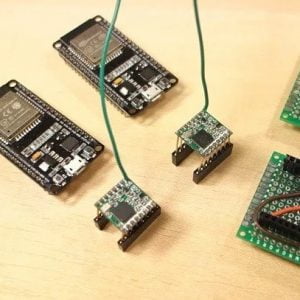
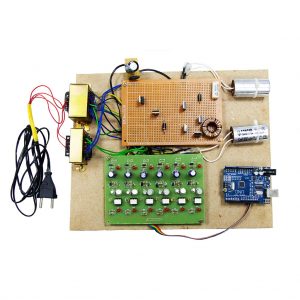
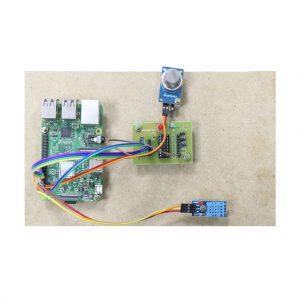
This is a micro controller?that has the CP2102 USB to UART chip for easy programming capabilities, the user only needs to install Arduino IDE to use this device. The spacing of the pins are designed for easy interfacing with any breadboard you may have in mind.
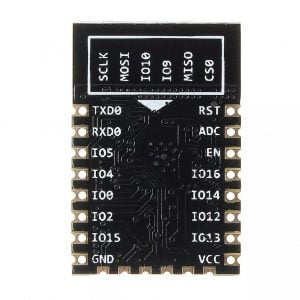
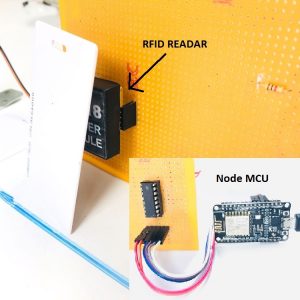
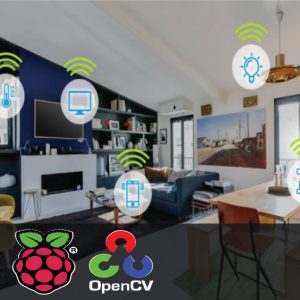
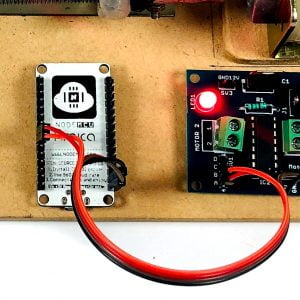
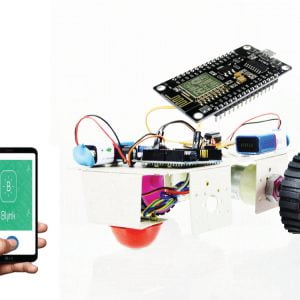
It is an advancement pack dependent on the amazing ESP8266 chip! Associate everything to your WiFi network with the NodeMCU.
Remote 802.11 b/g/n principles;
Backing STA/AP/STA + AP three working modes;
Inherent TCP/IP convention stack to help different TCP Client association (5 MAX);
D0 ~ D8, SD1 ~ SD3: utilized as GPIO, PWM, IIC, and so forth Port Drive 15mA;
AD0: 1 channel ADC;
Force input: 4.5V ~ 9V (10VMAX), USB-controlled, giving USB troubleshooting interface;
Present place of employment: continue sending: ?70mA (200mA MAX), Standby:
Move rate: 110-460800bps;
Backing UART/GPIO information correspondence interface;
Far off firmware overhaul (OTA);
Savvy Link underpins insightful systems administration capacities;
Working temperature: – 40 ? ~ + 125 ?;
Drive Type: Dual high-power H-connect driver
Module Weight: about 7g
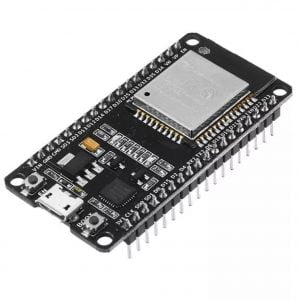
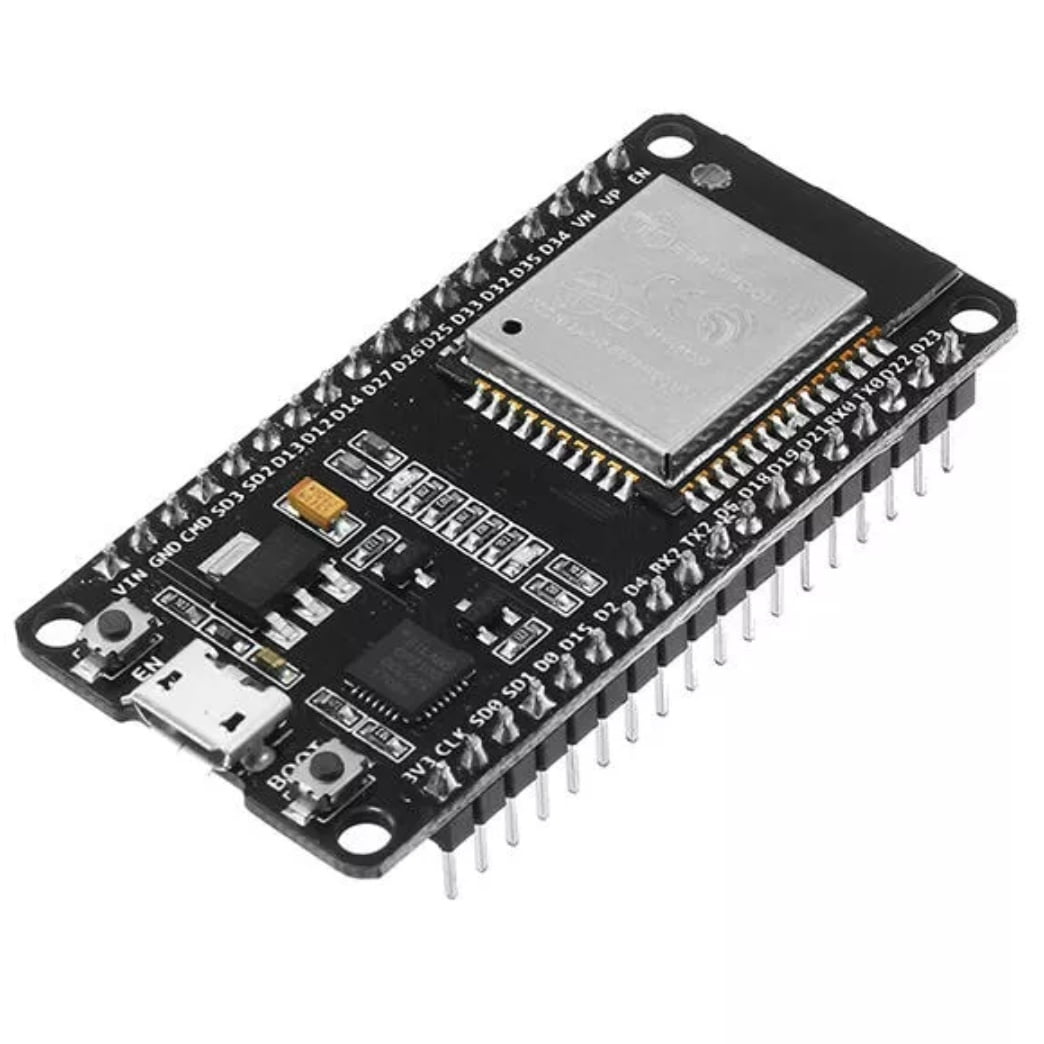
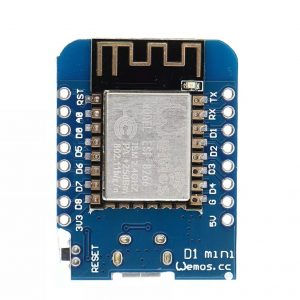
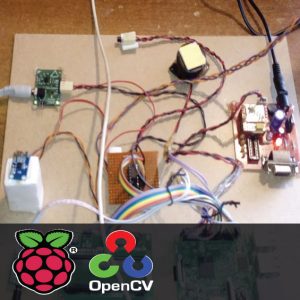
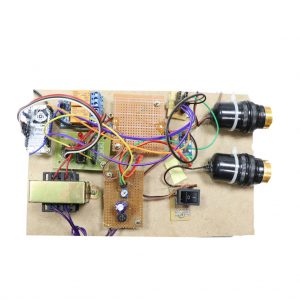
Board Name: NodeMCU 1.0 (ESP-12E Module)
USB-to-UART connect chip: CP2102
Right off the bat open the Arduino IDE
Go to documents and snap on the inclination in the Arduino IDE
duplicate the underneath code in the Additional sheets Manager
http://arduino.esp8266.com/stable/package_esp8266com_index.json
click OK to close the inclination Tab.
In the wake of finishing the above advances , go to Tools and board, and afterward select board Manager
Explore to esp8266 by esp8266 network and introduce the product for Arduino.
When all the above cycle been finished we are perused to program our esp8266 with Arduino IDE.
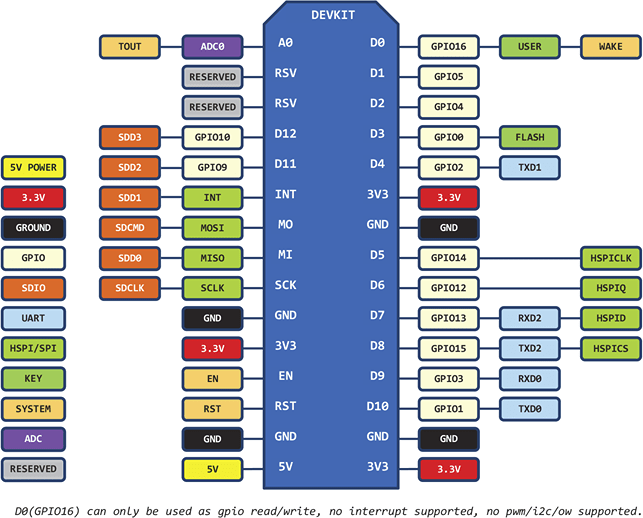
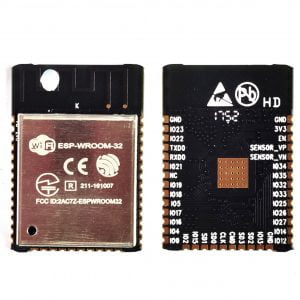
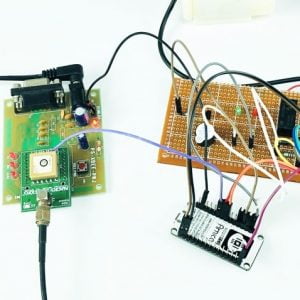
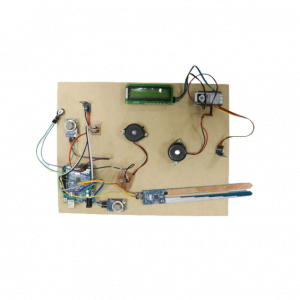
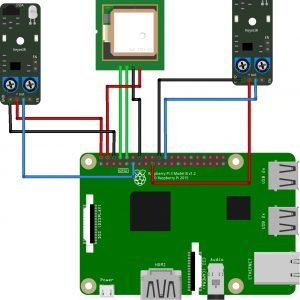
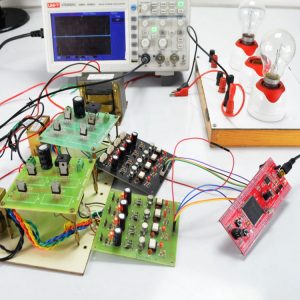
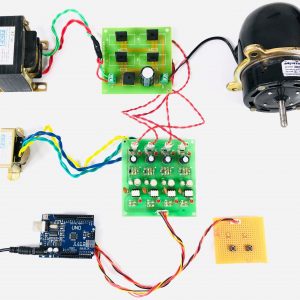
For this model I have utilized NodeMCU esp8266 and on the off chance that you are utilizing some other merchant wifi chips or nonexclusive wifi module please check with the esp8266 Pin planning which is exceptionally fundamental to make things works.
The motivation behind why I utilized D7 pin for this model is , I transferred the essential squint program that accompanies the models program in the arduino IDE which is associated with 13 pin of arduino. The thirteenth pin is planned into D7 pin of NodeMCU.
go to board and choose the sort of esp8266 you are utilizing. furthermore, select the right COM port to run the program on your esp8266 gadget.
transfer the program and see the outcomes.
on the off chance that you like the above instructional exercise and in the event that you need give a shot with cool tasks you can likewise check this connection here , that is the amazon book connect where you can utilize that book to make IoT with Esp8266 or Nodemcu, that books gives you fundamental inclusion on the most proficient method to do straightforward things and kick yourself off with arduino and continues creating projects like sending information to webserver and making a webserver, transferring and controlling information from a page, how to interface TFT LCD and I2C gadgets and a lot more things can discover on the connection.
<p>void setup() {<br>? // initialize digital pin 13 as an output.
pinMode(13, OUTPUT);
}</p><p>// the loop function runs over and over again forever
void loop() {
digitalWrite(13, HIGH);?? // turn the LED on (HIGH is the voltage level)
delay(1000);????????????? // wait for a second
digitalWrite(13, LOW);??? // turn the LED off by making the voltage LOW
delay(1000);????????????? // wait for a second
}</p>
#include <ESP8266WiFi.h>
const char* ssid = “Magesh”;
const char* password = “jayakumar”;
int ledPin = 13; // GPIO13
WiFiServer server(80);
void setup() {
Serial.begin(115200);
delay(10);
pinMode(ledPin, OUTPUT);
digitalWrite(ledPin, LOW);
// Connect to WiFi network
Serial.println();
Serial.println();
Serial.print(“Connecting to “);
Serial.println(ssid);
WiFi.begin(ssid, password);
while (WiFi.status() != WL_CONNECTED) {
delay(500);
Serial.print(“.”);
}
Serial.println(“”);
Serial.println(“WiFi connected”);
// Start the server
server.begin();
Serial.println(“Server started”);
// Print the IP address
Serial.print(“Use this URL to connect: “);
Serial.print(“http://”);
Serial.print(WiFi.localIP());
Serial.println(“/”);
}
void loop() {
// Check if a client has connected
WiFiClient client = server.available();
if (!client) {
return;
}
// Wait until the client sends some data
Serial.println(“new client”);
while(!client.available()){
delay(1);
}
// Read the first line of the request
String request = client.readStringUntil(‘r’);
Serial.println(request);
client.flush();
// Match the request
int value = LOW;
if (request.indexOf(“/LED=ON”) != -1)? {
digitalWrite(ledPin, HIGH);
value = HIGH;
}
if (request.indexOf(“/LED=OFF”) != -1)? {
digitalWrite(ledPin, LOW);
value = LOW;
}
// Set ledPin according to the request
//digitalWrite(ledPin, value);
// Return the response
client.println(“HTTP/1.1 200 OK”);
client.println(“Content-Type: text/html”);
client.println(“”); //? do not forget this one
client.println(“<!DOCTYPE HTML>”);
client.println(“<html>”);
client.print(“Led pin is now: “);
if(value == HIGH) {
client.print(“On”);
} else {
client.print(“Off”);
}
client.println(“<br><br>”);
client.println(“<a href=”/LED=ON””><button>Turn On </button></a>”);
client.println(“<a href=”/LED=OFF””><button>Turn Off </button></a><br />”);
client.println(“</html>”);
delay(1);
Serial.println(“Client disonnected”);
Serial.println(“”);
}
#include <ESP8266WiFi.h>
const char* ssid = “Magesh”;
const char* password = “jayakumar”;
; //
WiFiServer server(80);
void setup() {
Serial.begin(115200);
delay(10);
pinMode(5, OUTPUT);
pinMode(4, OUTPUT);
pinMode(0, OUTPUT);
pinMode(13, OUTPUT);
digitalWrite(5, LOW);
digitalWrite(4, LOW);
digitalWrite(0, LOW);
digitalWrite(13, LOW);
// Connect to WiFi network
Serial.println();
Serial.println();
Serial.print(“Connecting to “);
Serial.println(ssid);
WiFi.begin(ssid, password);
while (WiFi.status() != WL_CONNECTED) {
delay(500);
Serial.print(“.”);
}
Serial.println(“”);
Serial.println(“WiFi connected”);
// Start the server
server.begin();
Serial.println(“Server started”);
// Print the IP address
Serial.print(“Use this URL to connect: “);
Serial.print(“http://”);
Serial.print(WiFi.localIP());
Serial.println(“/”);
}
void loop() {
// Check if a client has connected
WiFiClient client = server.available();
if (!client) {
return;
}
// Wait until the client sends some data
Serial.println(“new client”);
while(!client.available()){
delay(1);
}
// Read the first line of the request
String request = client.readStringUntil(‘r’);
Serial.println(request);
client.flush();
// Match the request
if (request.indexOf(“/light1on”) > 0)? {
digitalWrite(5, HIGH);
}
if (request.indexOf(“/light1off”) >0)? {
digitalWrite(5, LOW);
}
if (request.indexOf(“/light2on”) > 0)? {
digitalWrite(4, HIGH);
}
if (request.indexOf(“/light2off”) >0)? {
digitalWrite(4, LOW);
}
if (request.indexOf(“/light3on”) >0)? {
digitalWrite(0, HIGH);
}
if (request.indexOf(“/light3off”) > 0)? {
digitalWrite(0, LOW);
}
if (request.indexOf(“/light4on”) > 0)? {
digitalWrite(13, HIGH);
}
if (request.indexOf(“/light4off”) > 0)? {
digitalWrite(13, LOW);
}
// Set ledPin according to the request
//digitalWrite(ledPin, value);
// Return the response
client.println(“HTTP/1.1 200 OK”);
client.println(“Content-Type: text/html”);
client.println(“”); //? do not forget this one
client.println(“<!DOCTYPE HTML>”);
client.println(“<html>”);
client.println(“<head>”);
client.println(“<meta name=’apple-mobile-web-app-capable’ content=’yes’ />”);
client.println(“<meta name=’apple-mobile-web-app-status-bar-style’ content=’black-translucent’ />”);
client.println(“</head>”);
client.println(“<body bgcolor = “#f7e6ec”>”);
client.println(“<hr/><hr>”);
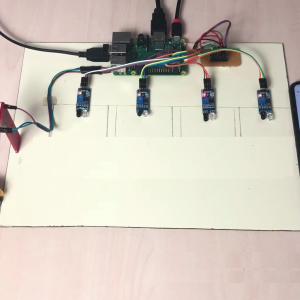
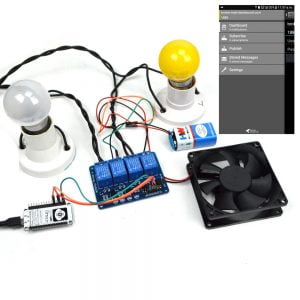
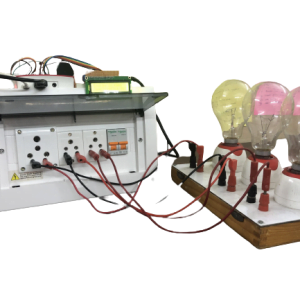
client.println(“<h4><center> Esp8266 Electrical Device Control </center></h4>”);
client.println(“<hr/><hr>”);
client.println(“<br><br>”);
client.println(“<br><br>”);
client.println(“<center>”);
client.println(“Device 1”);
client.println(“<a href=”/light1on””><button>Turn On </button></a>”);
client.println(“<a href=”/light1off””><button>Turn Off </button></a><br />”);
client.println(“</center>”);
client.println(“<br><br>”);
client.println(“<center>”);
client.println(“Device 2”);
client.println(“<a href=”/light2on””><button>Turn On </button></a>”);
client.println(“<a href=”/light2off””><button>Turn Off </button></a><br />”);
client.println(“</center>”);
client.println(“<br><br>”);
client.println(“<center>”);
client.println(“Device 3”);
client.println(“<a href=”/light3on””><button>Turn On </button></a>”);
client.println(“<a href=”/light3off””><button>Turn Off </button></a><br />”);
client.println(“</center>”);
client.println(“<br><br>”);
client.println(“<center>”);
client.println(“Device 4”);
client.println(“<a href=”/light4on””><button>Turn On </button></a>”);
client.println(“<a href=”/light4off””><button>Turn Off </button></a><br />”);
client.println(“</center>”);
client.println(“<br><br>”);
client.println(“<center>”);
client.println(“<table border=”5″>”);
client.println(“<tr>”);
if (digitalRead(5))
{
client.print(“<td>Light 1 is ON</td>”);
}
else
{
client.print(“<td>Light 1 is OFF</td>”);
}
client.println(“<br />”);
if (digitalRead(4))
{
client.print(“<td>Light 2 is ON</td>”);
}
else
{
client.print(“<td>Light 2 is OFF</td>”);
}
client.println(“</tr>”);
client.println(“<tr>”);
if (digitalRead(0))
{
client.print(“<td>Light 3 is ON</td>”);
}
else
{
client.print(“<td>Light 3 is OFF</td>”);
}
if (digitalRead(13))
{
client.print(“<td>Light 4 is ON</td>”);
}
else
{
client.print(“<td>Light 4 is OFF</td>”);
}
client.println(“</tr>”);
client.println(“</table>”);
client.println(“</center>”);
client.println(“</html>”);
delay(1);
Serial.println(“Client disonnected”);
Serial.println(“”);
}


Customer Reviews
There are no reviews yet.