

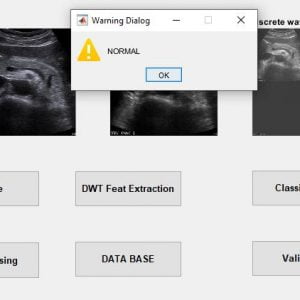
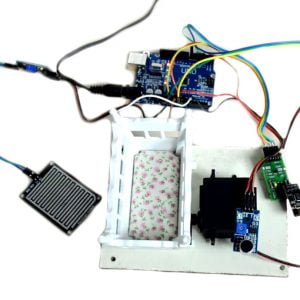
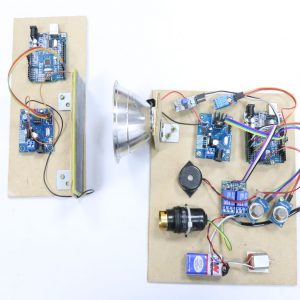
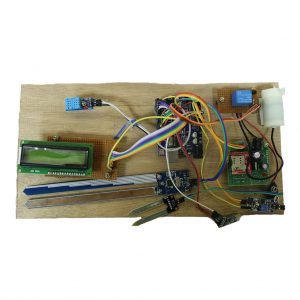
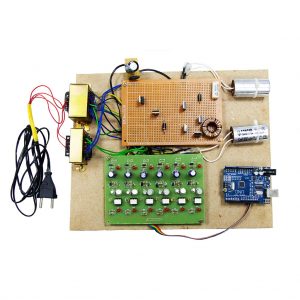
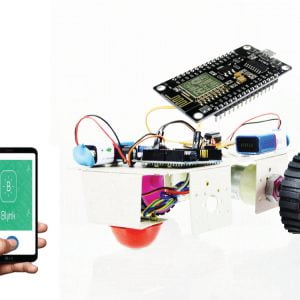
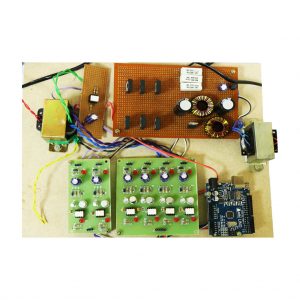
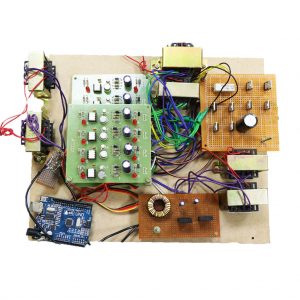
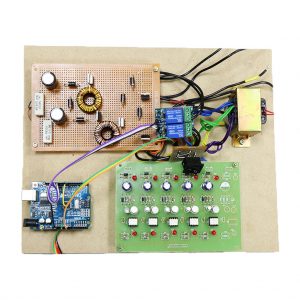
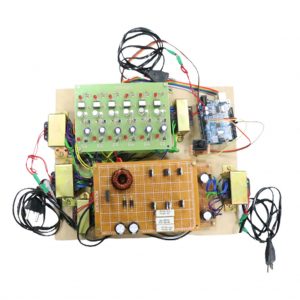
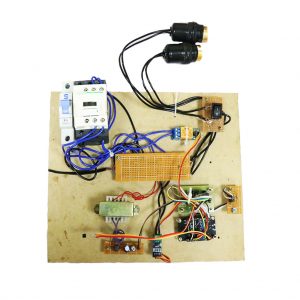
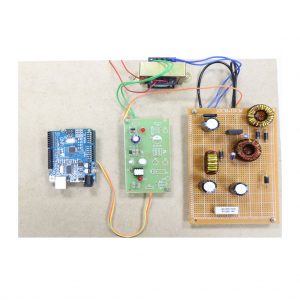
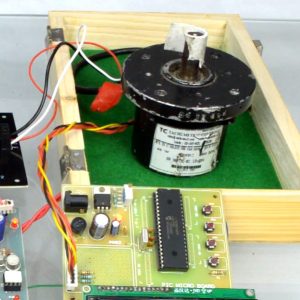
Description
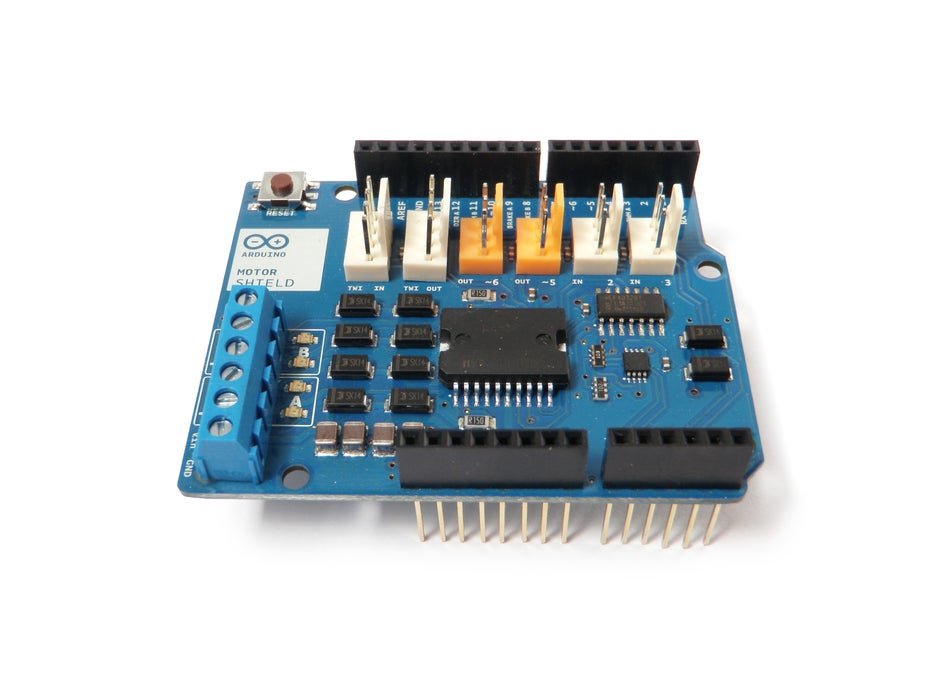
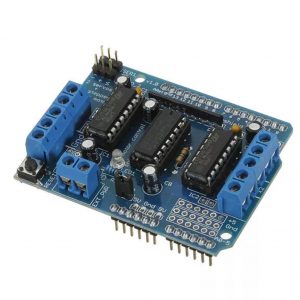
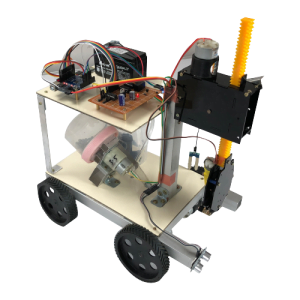
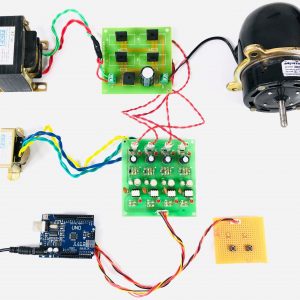
The?Arduino Motor Shield?allows your?arduino?to drive DC and stepper?motors, relays and solenoids.
The Arduino Motor Shield?permits?you to?effortlessly?manipulate?motor?course?and?velocity?the use of?an Arduino. By?permitting?you to?absolutely?tackle?Arduino pins, it makes it very?easy?to?include?a motor into your project. It?additionally?lets in?you to be?in a position?to?strength?a motor with a separate?electricity?provide?of up to 12v. Best of all, the?guard?is very?handy?to find. For all of these reasons, the Arduino Motor Shield if a cool little to have in your arsenal for?fast?prototyping, and?usual?experimenting.
REQUIREMENTS:
Step 1: Install
The pins of the?reputable?Arduino motor?protect?will?solely?align with Arduino Uno Rev. 3.
In order to make it work with older?variations?of the Arduino, you will?want?to trim a few pins off the motor shield. However, this is not, at all, recommended.
Insert the motor?guard?pins into the socket of the Arduino Uno.
Step 2: Shield Features
The motor?defend?has?two?channels, which?lets in?for the?manage?of two DC motors, or 1 stepper motor.
It?additionally?has 6 headers for the attachment of Tinkerkit inputs, outputs, and?conversation?lines. The use of these pins is?incredibly?limited, and therefor?now not?blanketed?in this tutorial.
With an?exterior?strength?supply, the motor?guard?can safely?furnish?up to 12V and 2A per motor channel (or 4A to a single channel).
There are pins on the Arduino that are?continually?in use?with the aid of?the shield. By addressing these pins you can?pick?a motor channel to initiate, specify the motor?course?(polarity), set motor?pace?(PWM),?cease?and?begin?the motor, and?screen?the?modern-day?absorption of?every?channel .
The pin breakdown is as follows:
Function Channel A Channel B
Direction Digital 12 Digital 13
Speed (PWM) Digital 3 Digital 11
Brake Digital 9 Digital 8
Current Sensing Analog 0 Analog 1
For?greater?statistics?about the technical specs,?test?out the motor shield’s?reputable?web page?on the Arduino site.
Step 3: Program
Plug the Arduino into your computer’s USB port and open the Arduino?improvement?environment.
In order to get the board to do anything, you?want?to initialize the motor channel?by using?toggling three parameters:
First you?want?to set the motor?course?(polarity of the?strength?supply)?by means of?placing?it?both?HIGH or LOW.
Then you?want?to disengage the brake pin for the motor channel?through?putting?it to LOW.
Finally, to get the motor to?begin?moving, you?want?to set the?pace?with the aid of?sending a PWM command (analogWrite) to the?fantastic?pin.
If you do?no longer?do all three of these things, the motor will?no longer?flip?on.
In the following steps are some?frequent?examples of?frequent?motor setups.
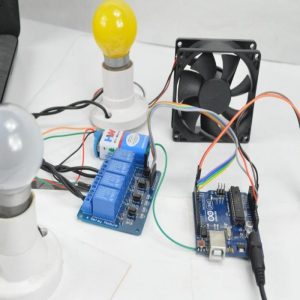
Step 4: One Motor
To?manipulate?a motor?the usage of?the Arduino Motor Shield, first plug the motor’s?fantastic?(red) wire into Channel A’s + terminal on the motor shield, and the motor’s?floor?(black) wire into Channel A’s – terminal on the shield.
An?exterior?strength?provide?is?no longer?continually?necessary,?however?it?considerably?improves the motor’s performance. It is?advocated?that you?usually?use one.
To?join?your?exterior?electricity?supply,?join?the?fine?(red) wire from the?electricity?furnish?to the “Vin” terminal, and the?floor?(black) wire to the “GND” terminal.
Finally,?add?the code to?manipulate?the Motor Shield to the Arduino.
<pre>/*************************************************************
Motor Shield 1-Channel DC Motor Demo
by Randy Sarafan
For more information see:
https://www.instructables.com/id/Arduino-Motor-Shield-Tutorial/
*************************************************************/
void setup() {
//Setup Channel A
pinMode(12, OUTPUT); //Initiates Motor Channel A pin
pinMode(9, OUTPUT); //Initiates Brake Channel A pin
}
void loop(){
//forward @ full speed
digitalWrite(12, HIGH); //Establishes forward direction of Channel A
digitalWrite(9, LOW); //Disengage the Brake for Channel A
analogWrite(3, 255); //Spins the motor on Channel A at full speed
delay(3000);
digitalWrite(9, HIGH); //Eengage the Brake for Channel A
delay(1000);
//backward @ half speed
digitalWrite(12, LOW); //Establishes backward direction of Channel A
digitalWrite(9, LOW); //Disengage the Brake for Channel A
analogWrite(3, 123); //Spins the motor on Channel A at half speed
delay(3000);
digitalWrite(9, HIGH); //Eengage the Brake for Channel A
delay(1000);
}


Customer Reviews
There are no reviews yet.