
What is NetBeans?

Installation of NetBeans 8 is an open-source integrated development environment (IDE) for developing with Java, PHP, C++, and other programming languages. NetBeans uses components, also known as modules, to enable software development. NetBeans dynamically installs modules and allows users to download updated features and digitally authenticated upgrades. NetBeans IDE modules include NetBeans Profiler, a Graphical User Interface (GUI) design tool, and NetBeans JavaScript Editor.
Installation of NetBeans 8.2 and JDK 8 on Windows 10
Version of NetBeans: 8.2
JDK 8: Java Development Kit
Here are the few simple steps to Install NetBeans 8.2 version and JDK 8 on Windows 10 PC:
Installation of JDK
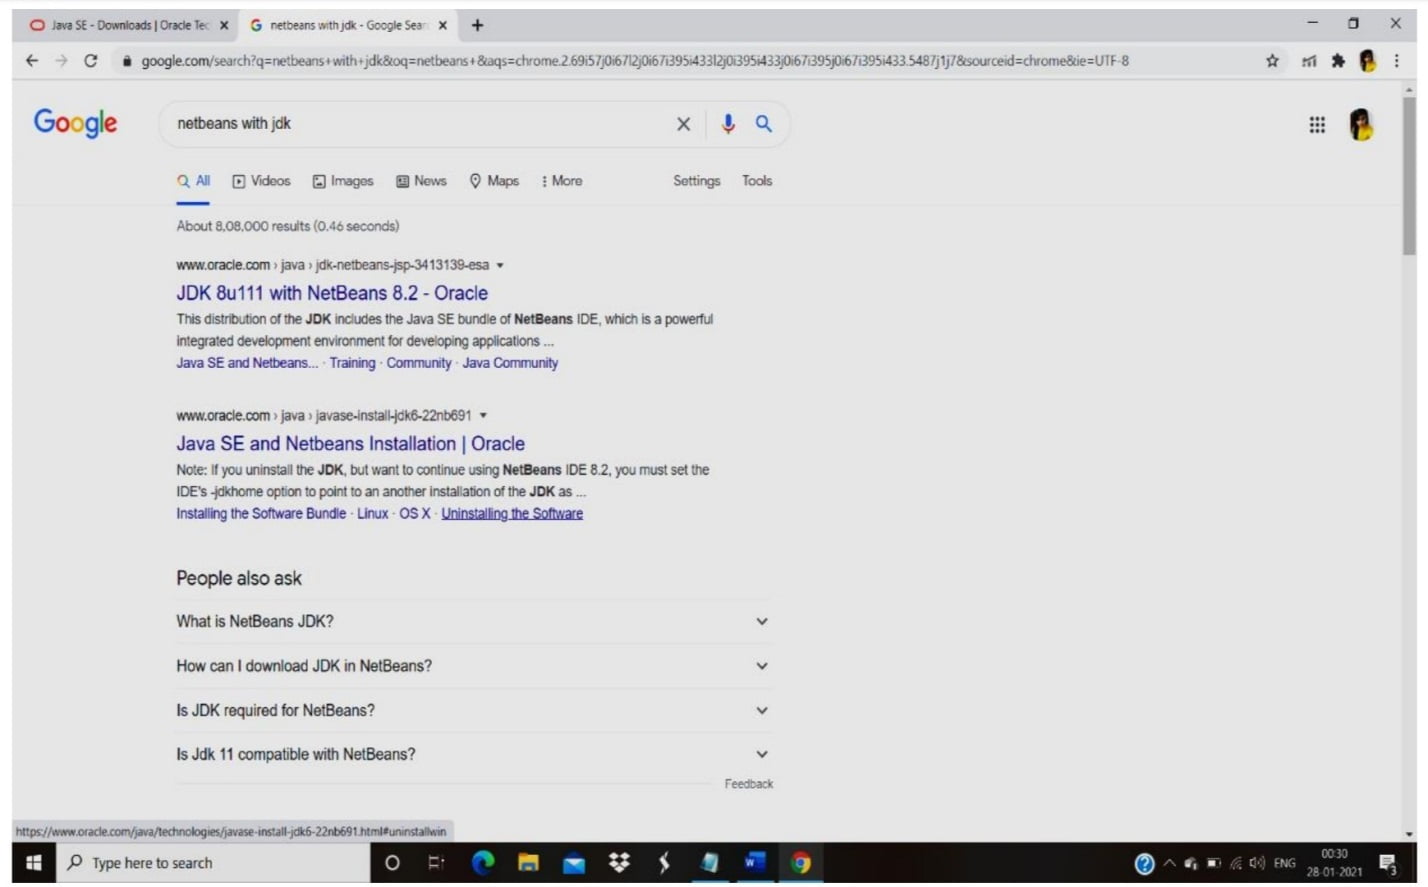
- Open the Web Browser where you need to search for NetBeans with JDK. To download the JDK NetBeans of the latest version We need click the first link which is in the web page of NetBeans with JDK. Click the link JDK 8u111 with NetBeans 8.2-oracle.
- After clicking into the official link of downloading JDK , in the next page we need to start downloading the NetBeans 8.2 JDK 8 version. In the downloading page , Allow the license part which has to be turned on , So that the Downloading gets ready in your PC.
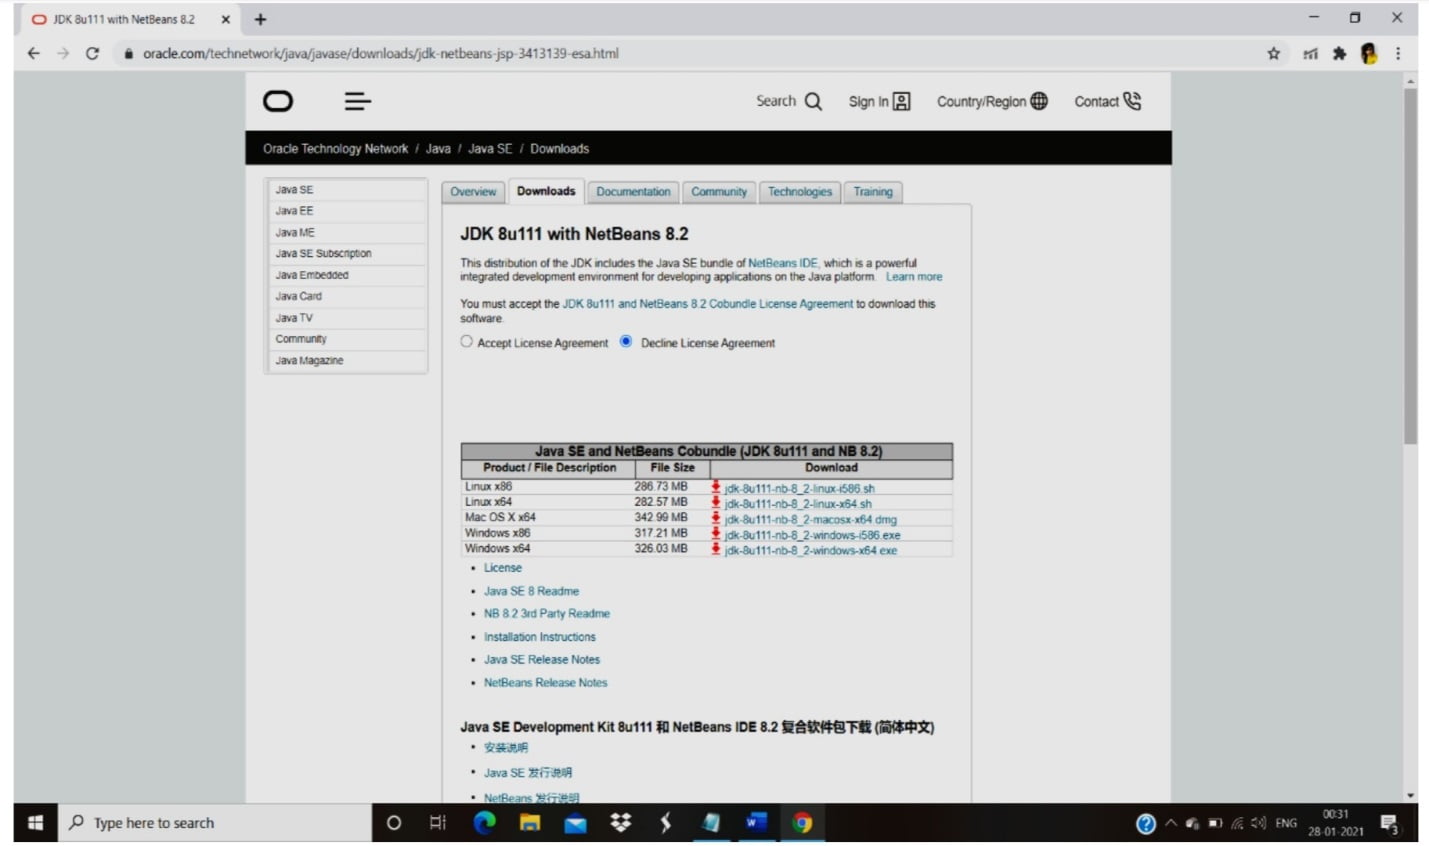
- To download the NetBeans 8.2 and JDK 8 on the specified version that your PC can able to download, read the specified table given, on which version your PC has and based on the storage capacity of your PC. Decide the version and Storage for your PC, as it has versions for MAC,LINUX, Windows for 64 bit and 32 bit.
- The version given as Windows x86 is considered as 32 bit and Windows x64 is considered as 64 bit.
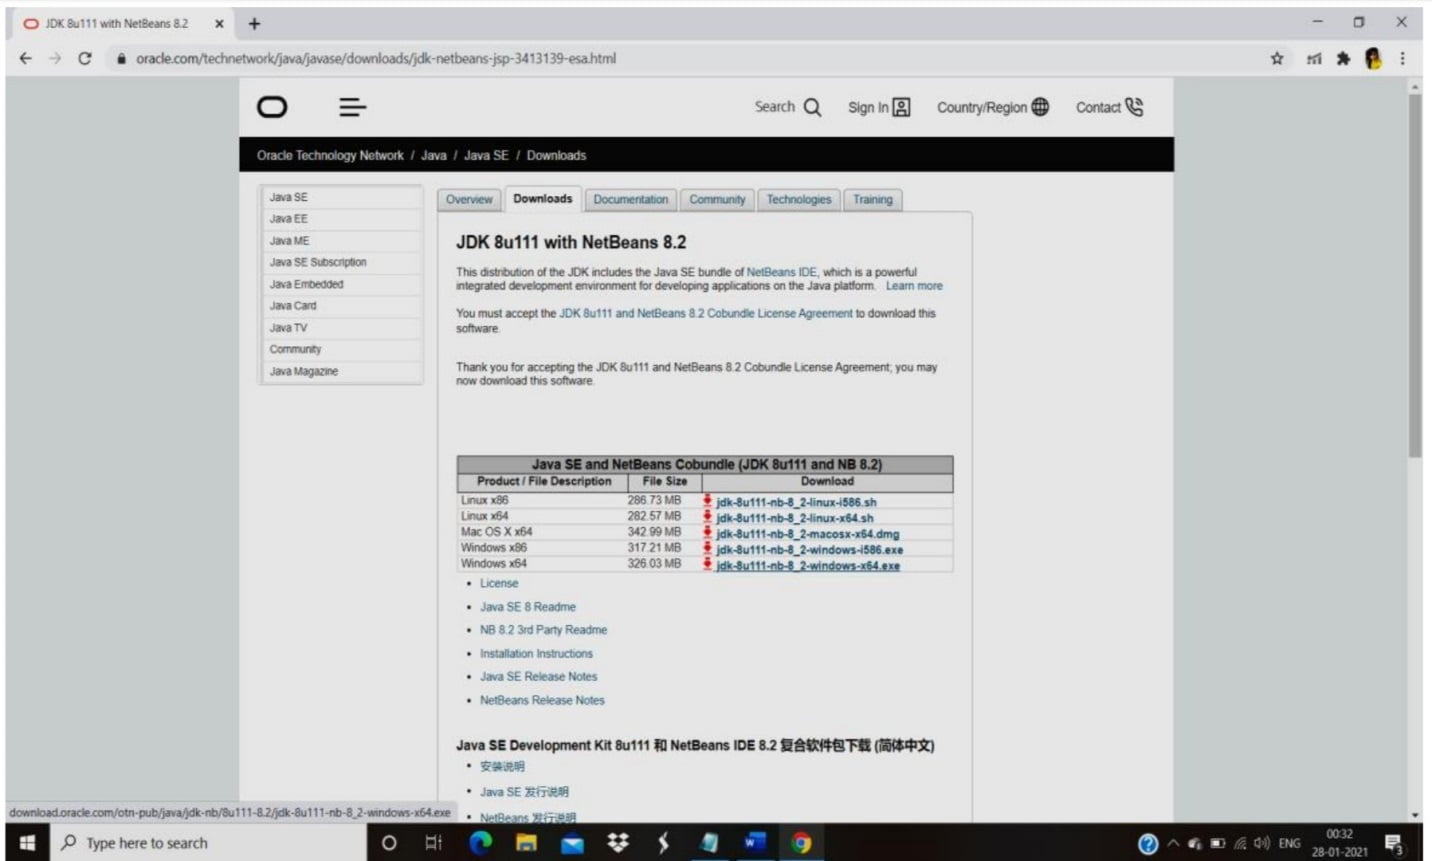
- After Selecting the Version and Storage capacity of the JDK and NetBeans Double click the respective link on the download columns which you need to download. It starts downloading
- After the JDK and NetBeans has been downloaded the Welcome page appears, that indicates the JDK and NetBeans has been downloaded in the specified version that is suggested by the user.
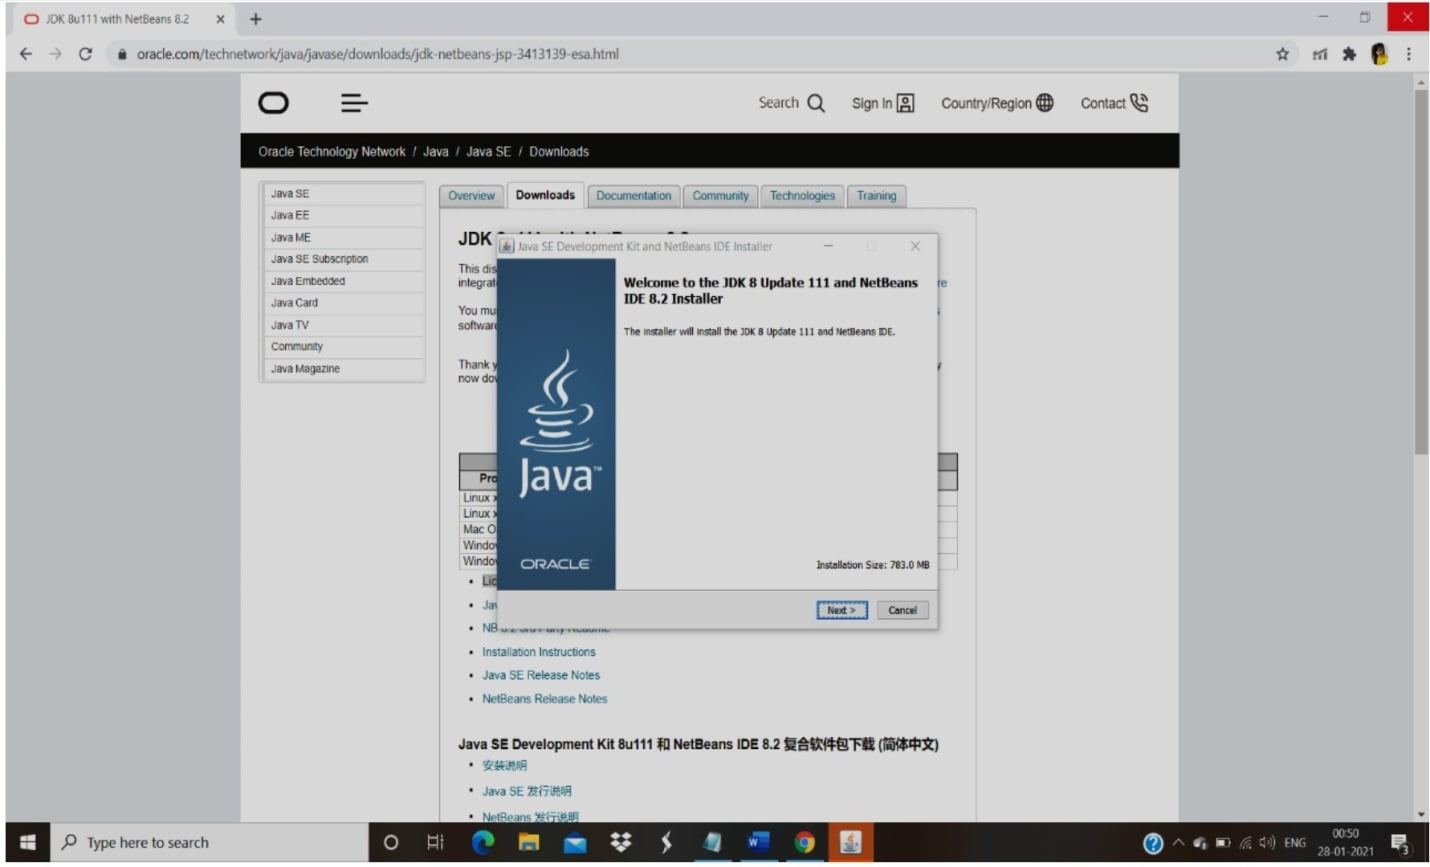
- Read the instructions and click on Next to install the JDK and NetBeans Software in your PC.

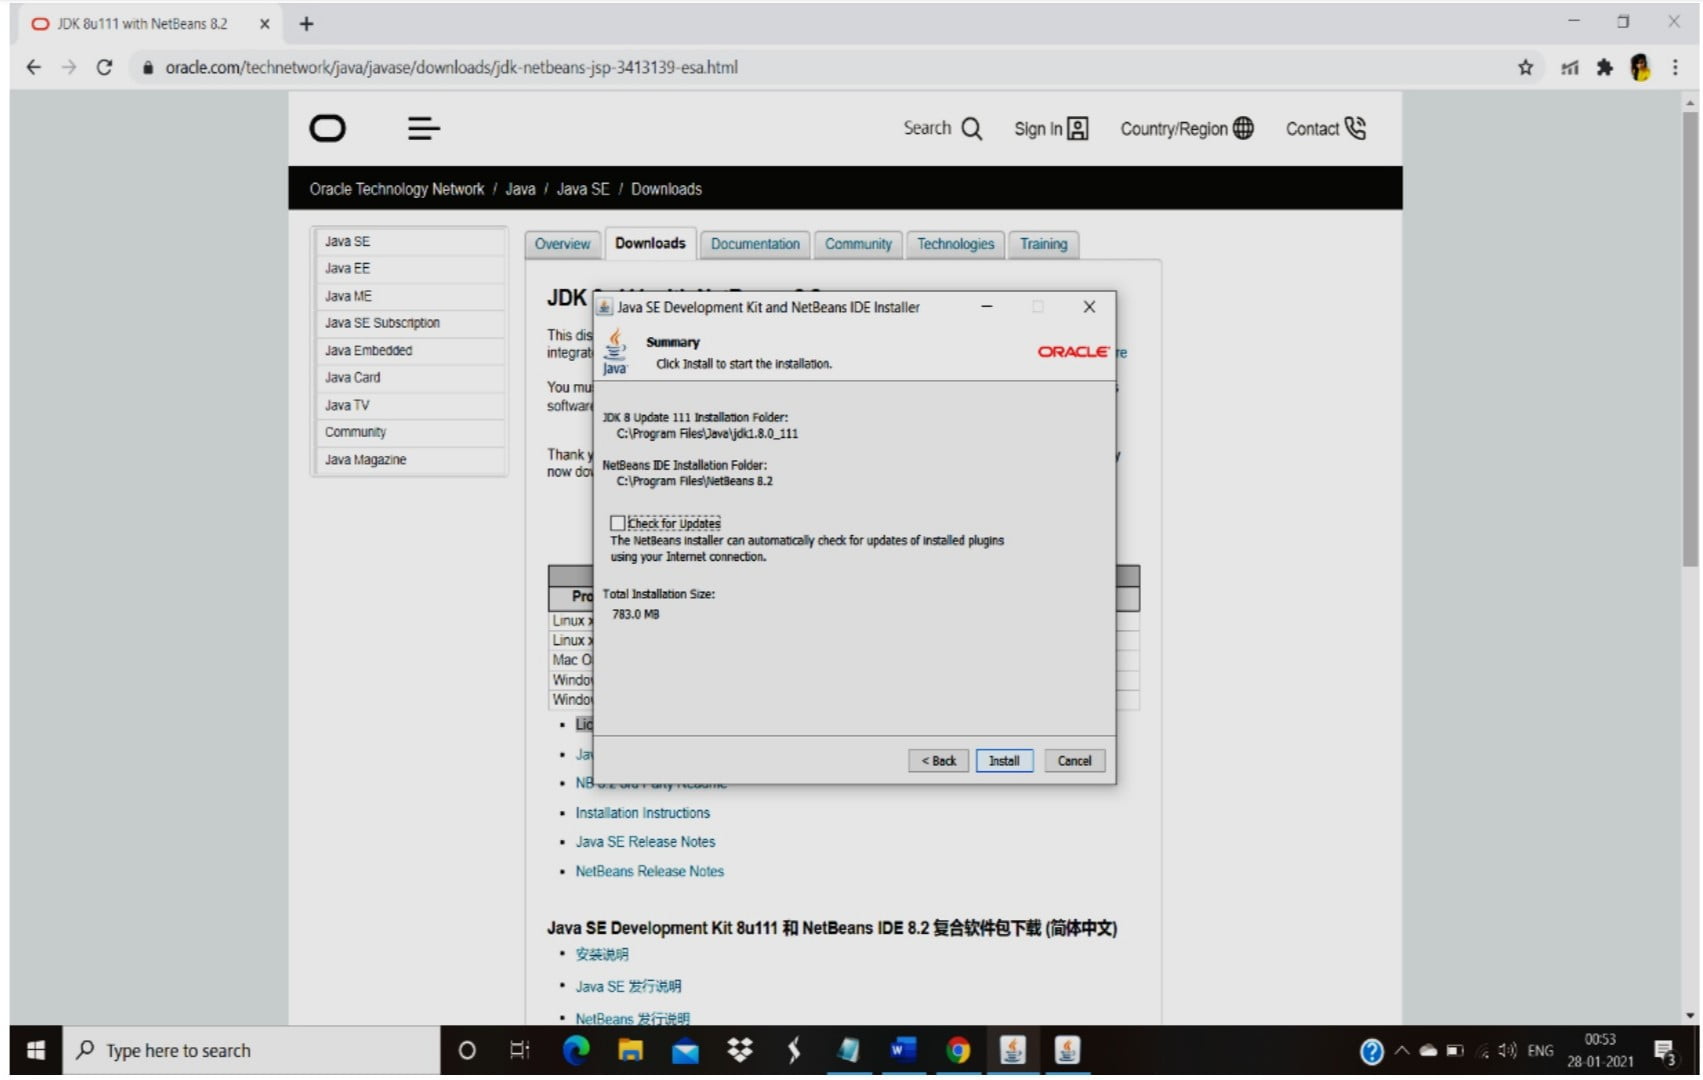
- Browse the location that the JDK and NetBeans Software has to be installed , It has the location for JDK and NetBeans as the default location, but if you need to change the location of JDK and NetBeans that is associated with JDK you can browse the location and change the location that has to be installed.

- After choosing the location that the JDK and NetBeans Software has to be installed, Click the install option to install the JDK and NetBeans Software.
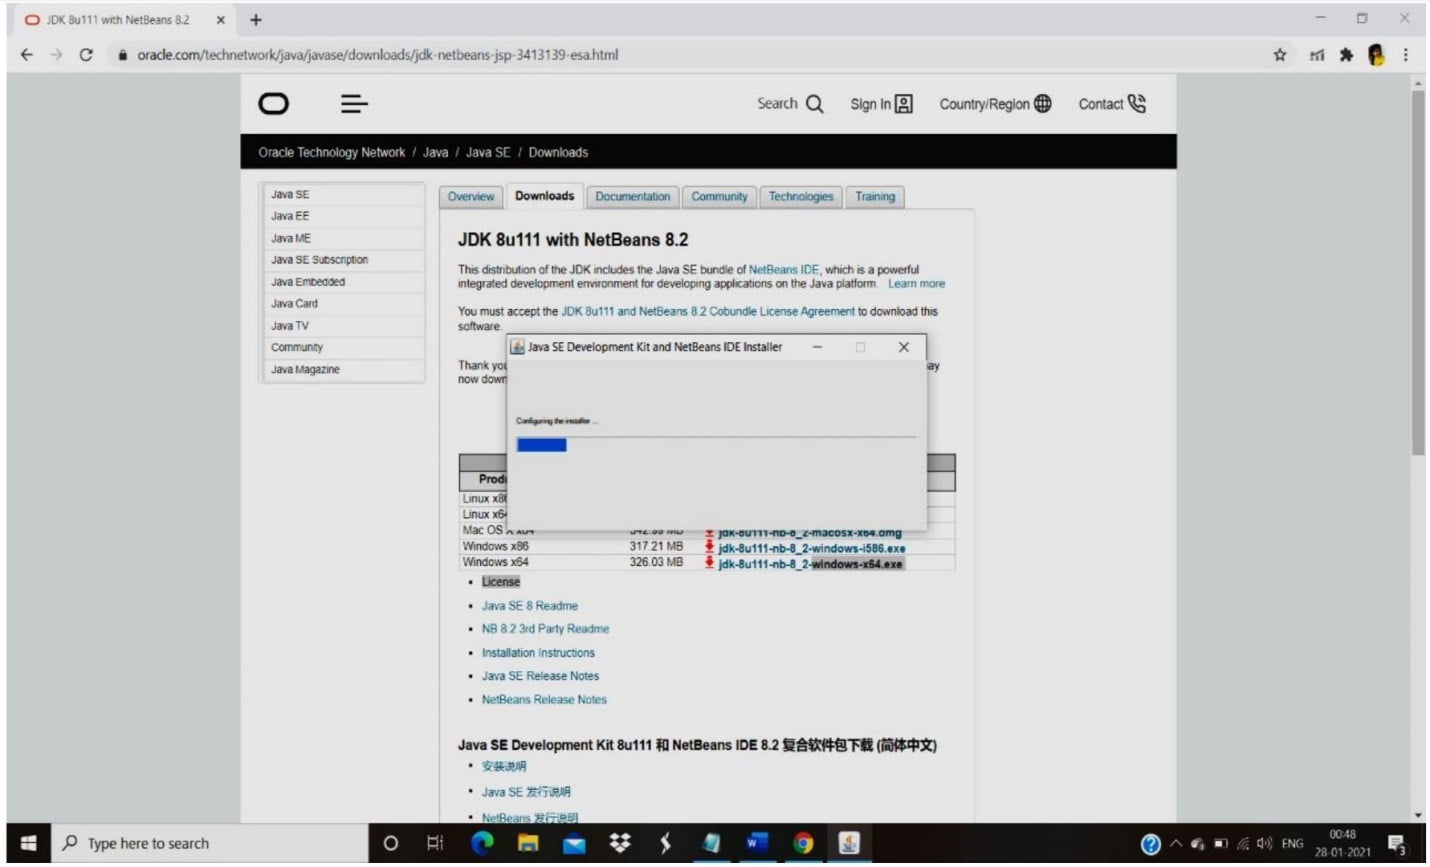
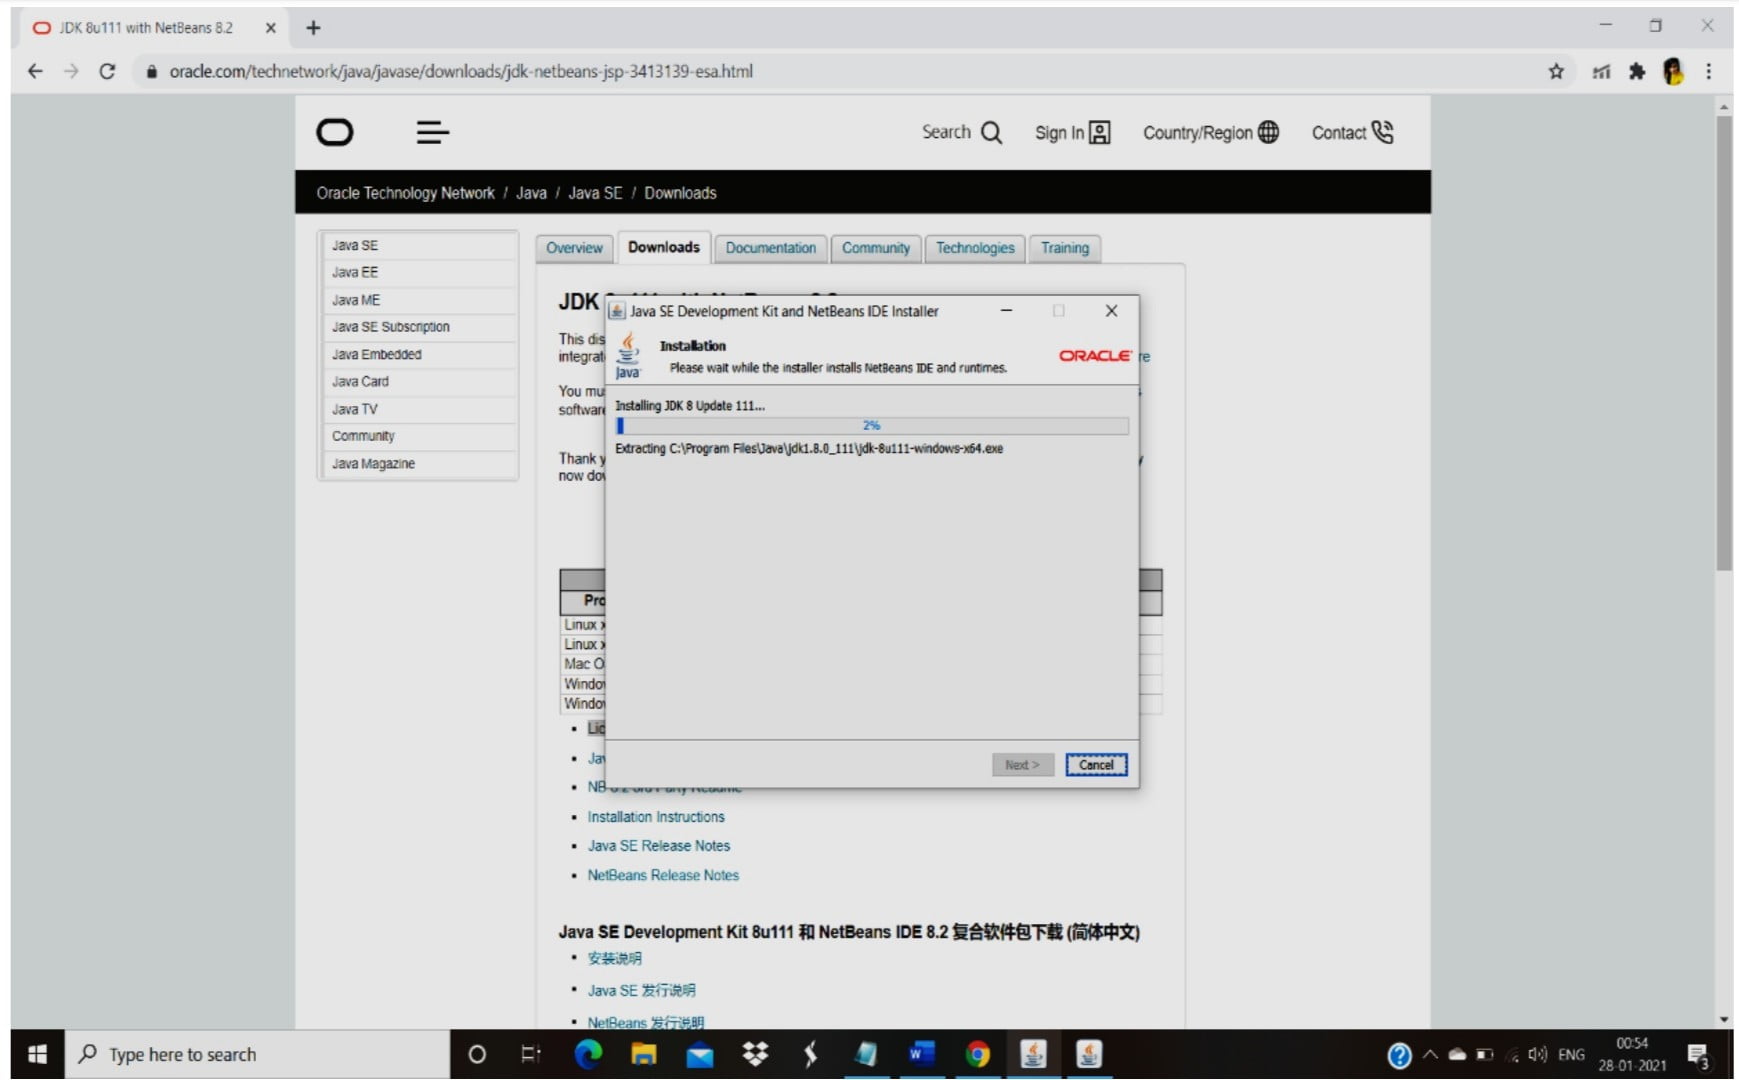
- The installation of the JDK and NetBeans takes place in the location that the user has been provided. It takes quite some time to install JDK and NetBeans.
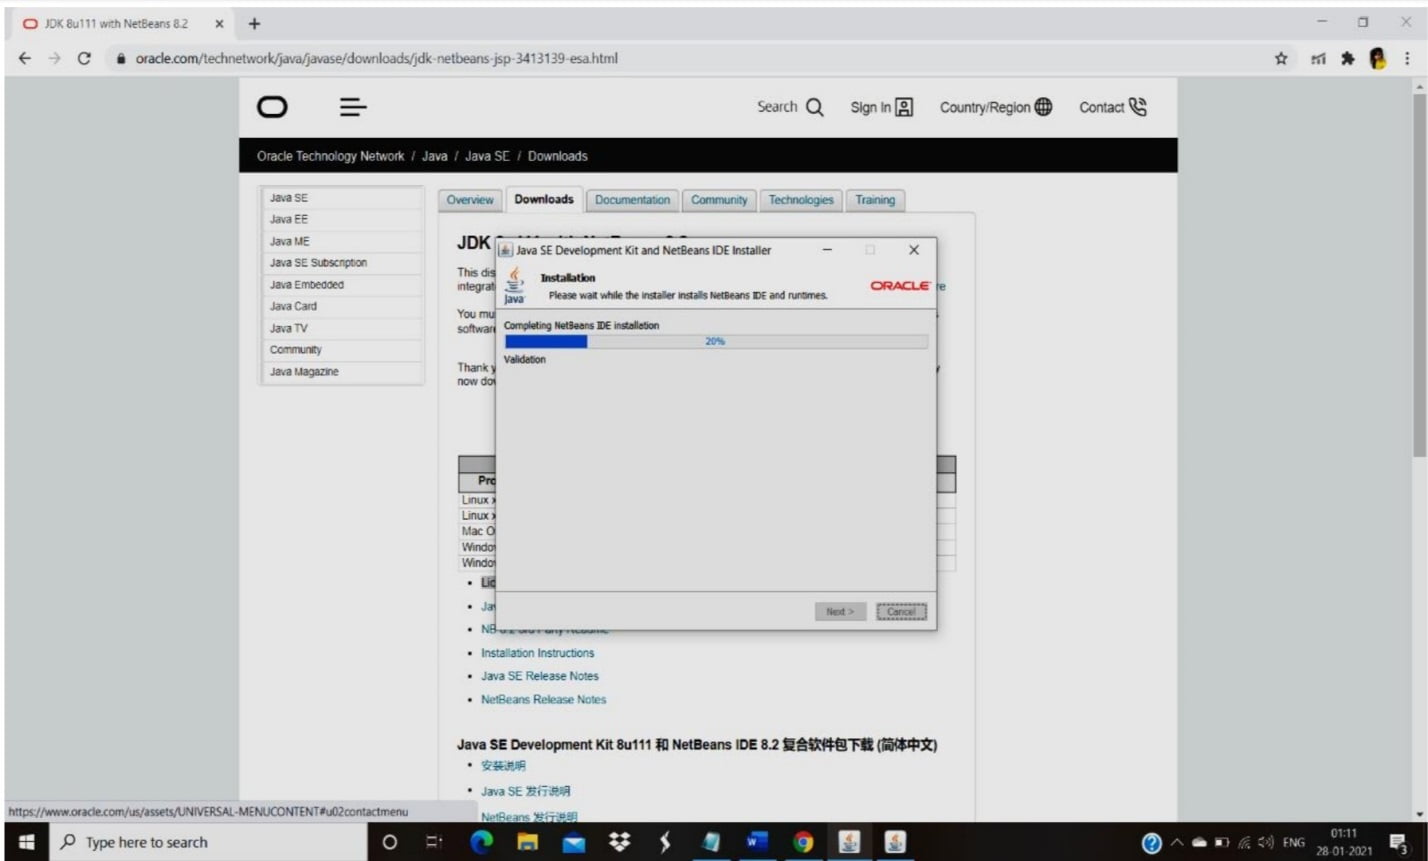
- The installation of JDK and NetBeans has been done successfully, to ensure that the message will be displayed in the screen as Installation Completed Successfully.
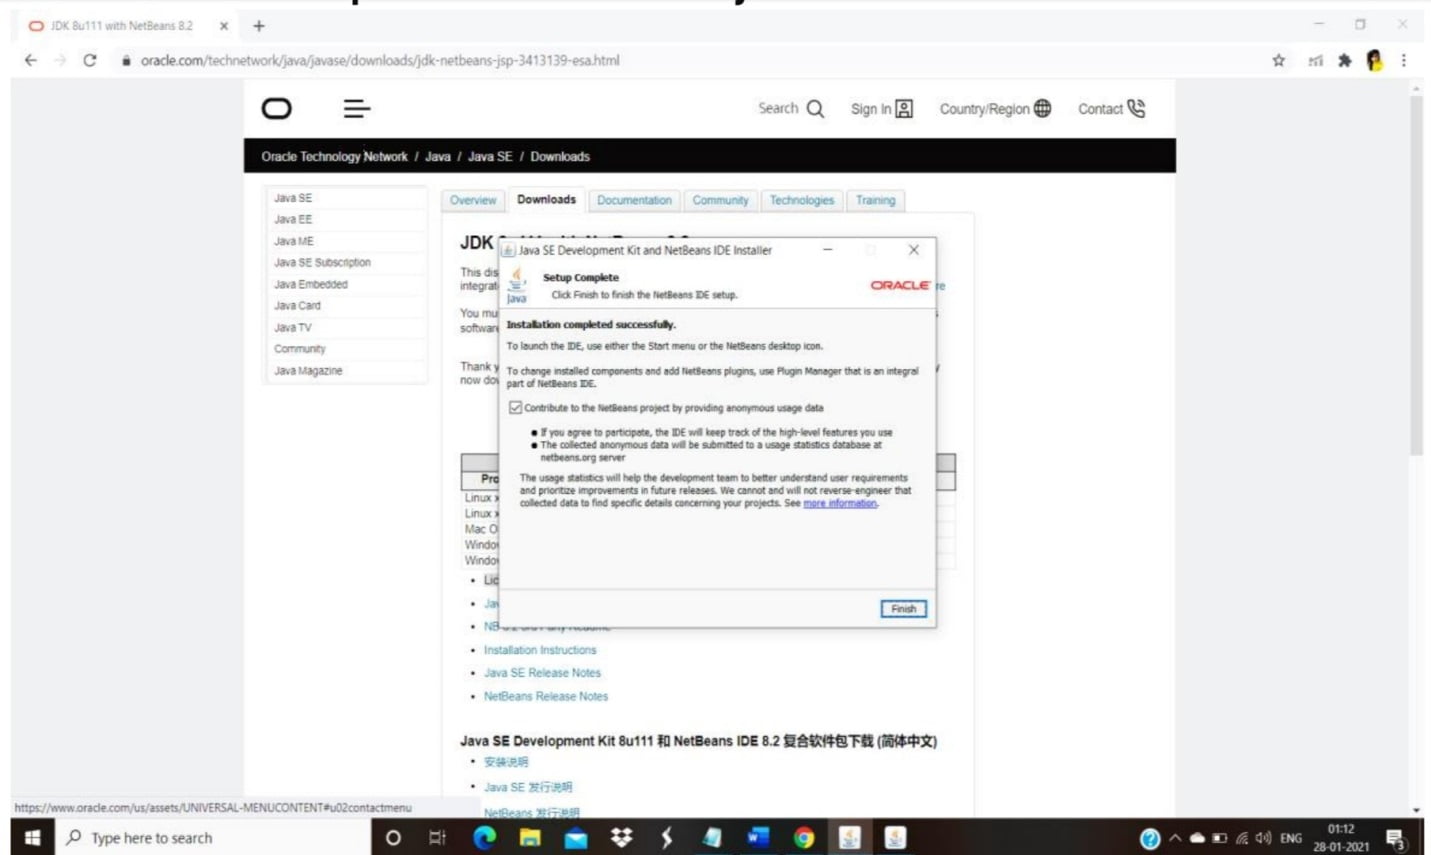
- To know the installation is done properly, minimize the installation screen and you can see the NetBeans Software icon that appears on your desktop.
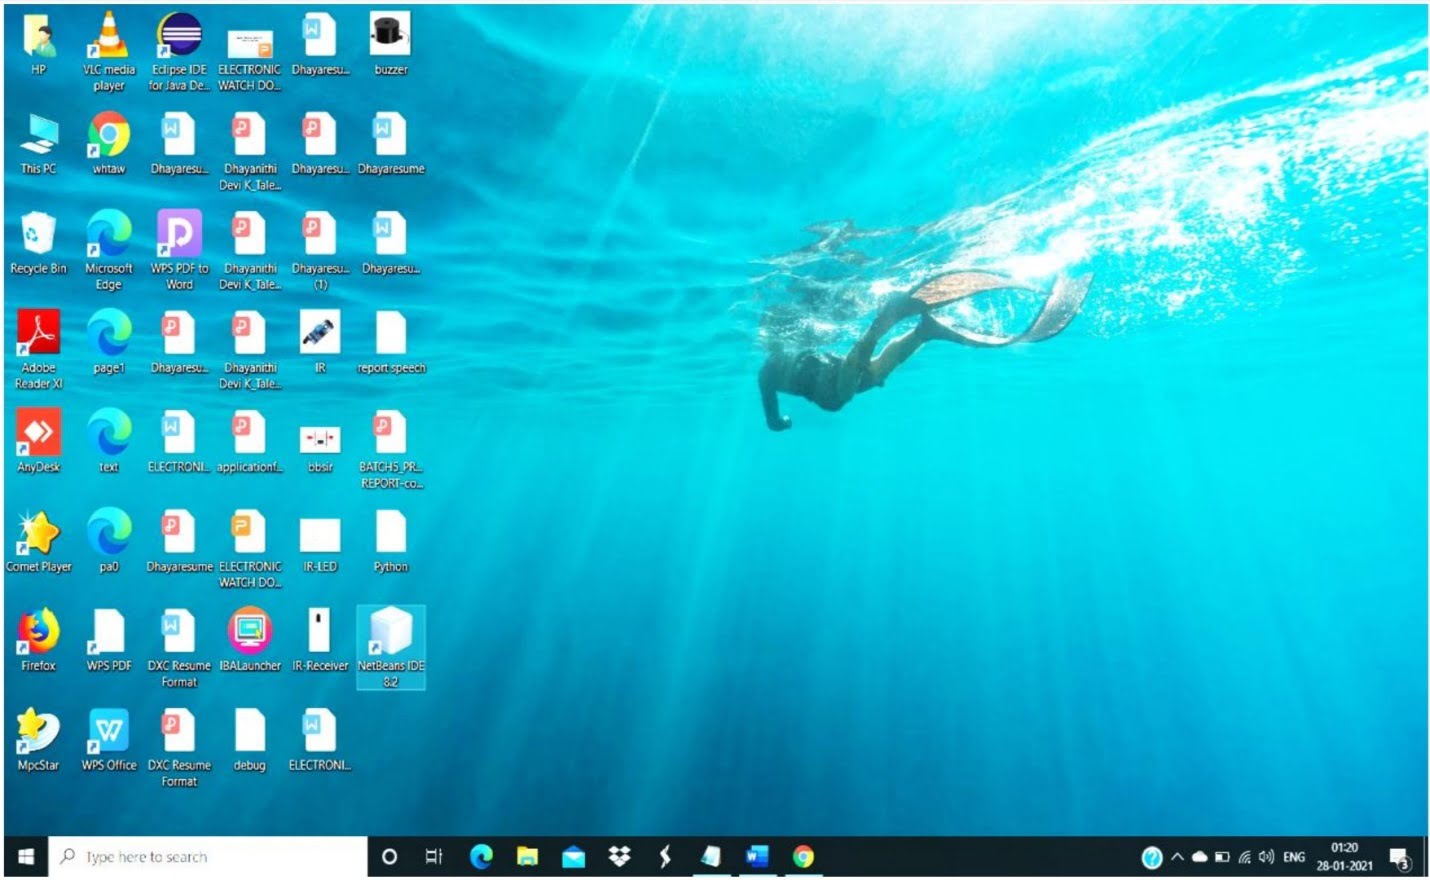
- Double click the icon present on the desktop, the screen as NetBeans Software opens so as to develop our coding content on it.
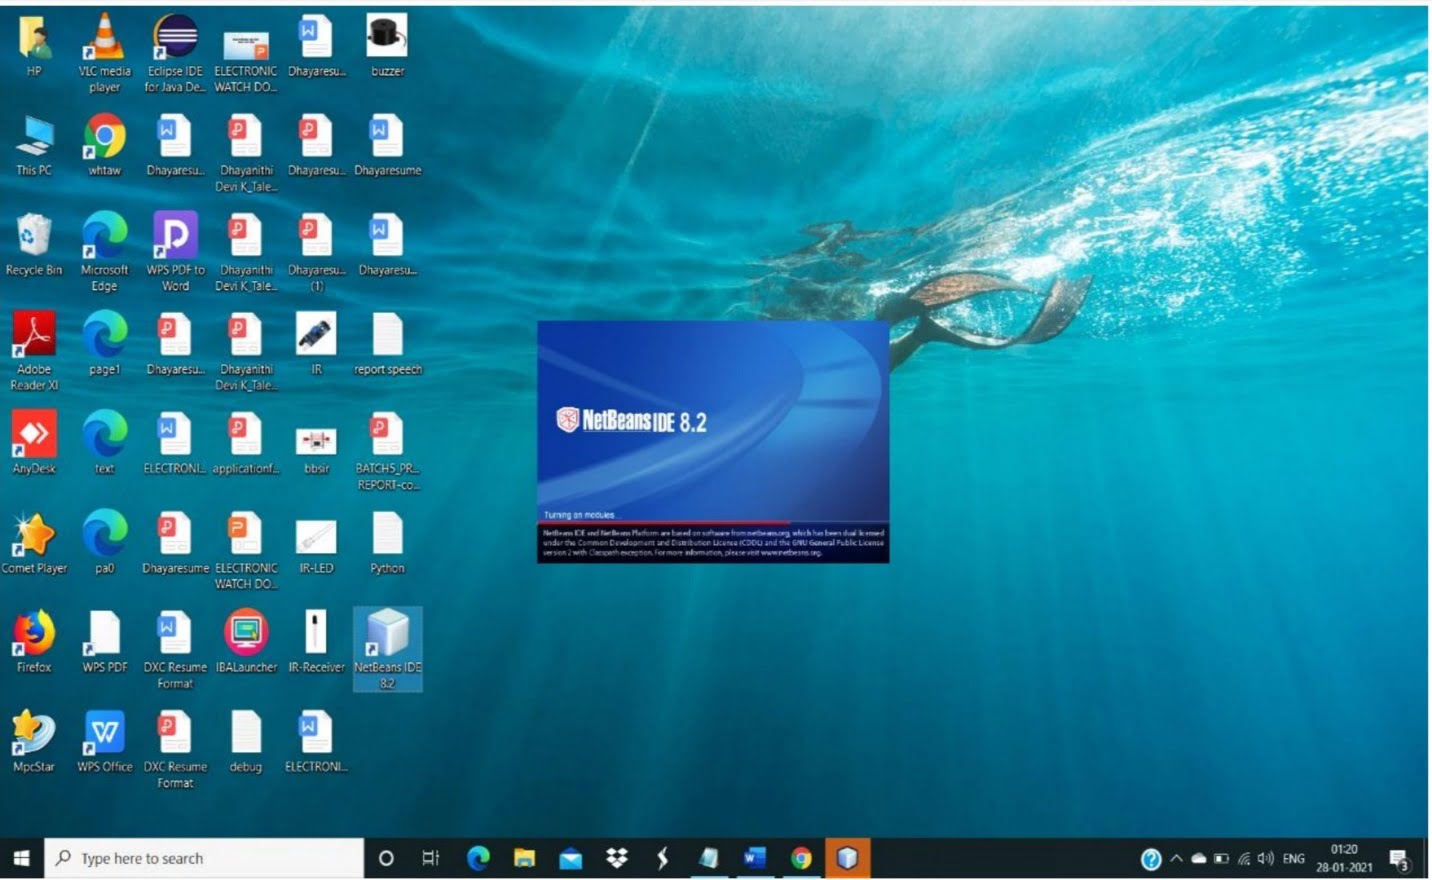
- As this Software gets open, the page opens as such given below, where the welcome page gets open and you can create your known coding done in the specified area , where it starts with creating the project.

- These are some Simple steps that you can Install the NetBeans Software along with JDK 8. START YOUR CODING.